Affiliate Library Configuration in the SCF
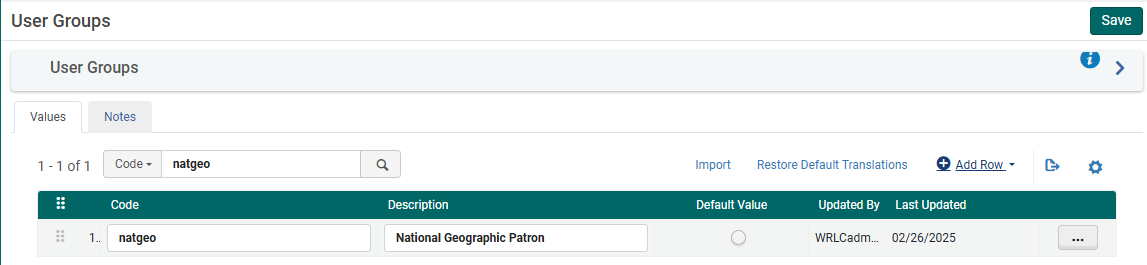
1. Create user group
- Configuration > User Management > User Details > User Groups
- + Add Row
- Choose a code and a description (preferably [Affiliate Library] Patron)
- Choose Add Row, and then Save the table
2. Apply user record group to a specific type
- Configuration > User Management > User Details > User Record Type/User Group
- + Add Row
- Choose the user group created in step #1, then choose a record type of Staff, Public, and Organization
- Choose Add Row, and then Save the table

3. Associate library location with Fulfillment Unit
- Configuration > Fulfillment > Physical Fulfillment > Fulfillment Units
- Edit the Fulfillment Unit Affiliate Library
- Choose the Fulfillment Unit Locations tab
- Attach to the list the location(s) associated with the affiliate library
- Save the Fulfillment Unit
The Request TOU ("Library Delivery Request') used is what sets the terms for Home Delivery; because of this TOU, all requests made for these items are automatically home delivery requests.
4. Prevent affiliate user group from requesting other SCF materials
Depending on the rules in place for the affiliate library patrons, they may not be allowed to request WRLC items at the SCF; in that case, you will need to include the affiliate library patron user group to the appropriate Fulfillment Unit rules.
The specific rules that need to be edited can be found listed below :
- Fulfillment Unit : Library Delivery Only
- Rule Type : Request
- Rule Name : Affiliate Library Patrons No Requesting
- Add affiliate library patron user group to the rule
- Fulfillment Unit : Regular
- Rule Type : Request
- Rule Name : Affiliate Library Patrons No Requesting
- Add affiliate library patron user group to the rule
5. Create Provenance Code for affiliate library items
- Configuration > Resources > General > Provenance Code
- + Add Row
- Choose a code and a description
- Save the Provenance Code table
6. Create a restricted search group for Primo VE
This restricted search group will not allow non-affiliate library users (ex. Trinity users) to view the affiliate library's items in the SCF's instance of Primo.
- Configuration > Discovery > Search Configuration > Restricted Search Groups
- + Add Restricted Search Group
- Choose a code, a name (preferably [Affiliate Library Name] Affiliate Library), and a description

- Add the Restricted Search Condition of:
- Search Index = Location
- Operator = Equals
- Value = all library locations associated with affiliate library

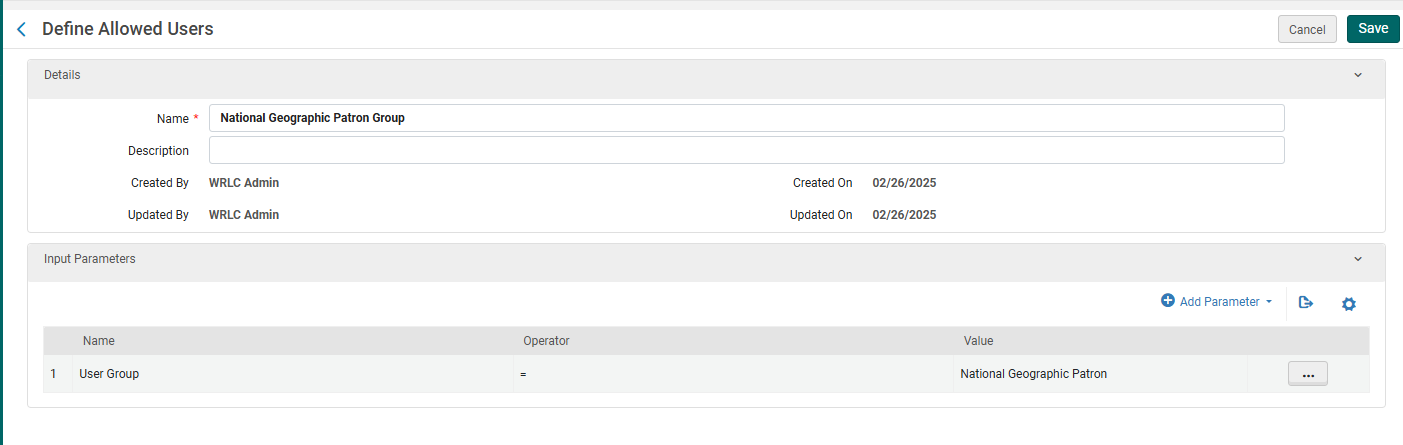
- Add the following Allowed Users:
- Patron Group Rule
- Name = [Affiliate Library] Patron Group
- Input Parameter
- Name = User Group
- Operator = "="
- Value = all user groups created in step #1
- Patron Group Rule
-
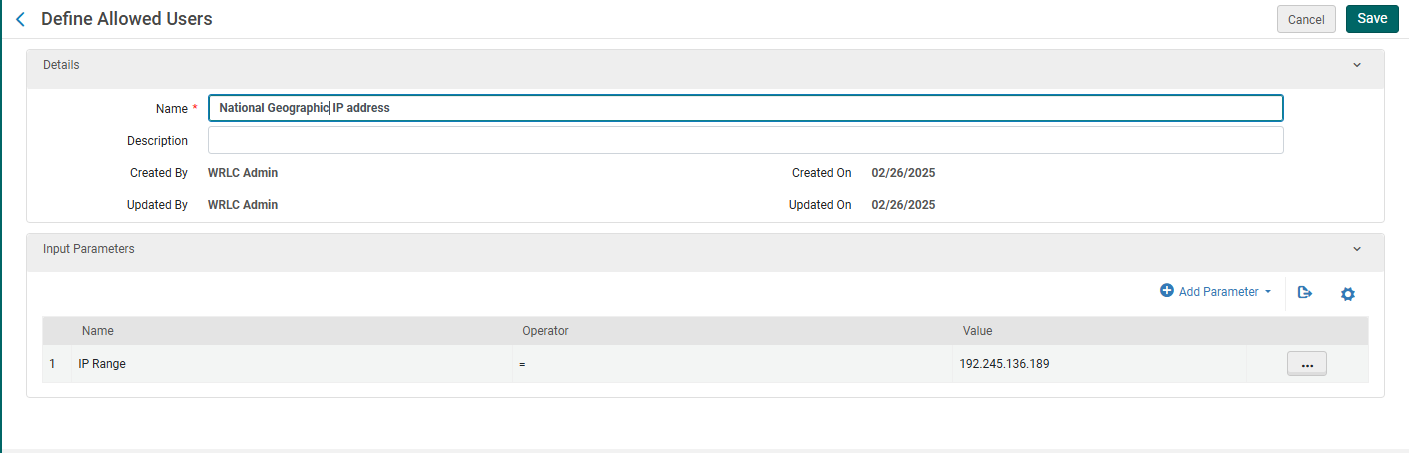
- IP Address Rule
- Name = [Affiliate Library] IP Address
- Input Parameter
- Name = IP Range
- Operator = "="
- Value = [IP range of affiliate library]
- IP Address Rule
- Save the Restricted Search Group Definition
7. Create a Hide rom Network definition
This definition will prevent the affiliate library's bibliographic and item records from appearing in the other Primo instances in our Network.
- Configuration > Discovery > Search Configuration > Hide from Network definitions
- + Add Hide from Network Definition
- Choose a code and a name
- Then add the following Condition:
- Search Index = Inventory > Location
- Operator = Equals
- Value = Location(s) associated with affiliate library
- Add Condition, then Save the Custom Scope
8. Create a custom local data search scope
- Configuration > Discovery > Search Configuration > Search Profiles
- Choose the Custom Local Data Scopes tab
- + Add a Custom Scope
- Choose a code and a name
- Then add the following Scope Condition:
- Search Index = Inventory > Location
- Operator = Equals
- Value = Location(s) associated with affiliate library
- Add Condition, then Save the Custom Scope

9. Create a search profile
- Configuration > Discovery > Search Configuration > Search Profiles
- Choose the Search Profiles tab
- + Add a Search Profile
- Choose a code and a display name
- Then add the following scope:
- Select Scope Type = Custom (Local Data)
- Select Custom Scope = the custom scope created in step #6
- Click Add and close, then Save the Custom Search Profile
10. Create a Primo VE view for affiliate library users
- Configuration > Discovery > Display Configuration > Configure Views
- + Add View
- Choose a code and a name
- Choose the following settings as you work through the configuration pages
- General tab > Discovery Network Settings section
- Display locations from member institutions = No
- Include member institution physical inventory in facets = Never
- General tab > Discovery Network Settings section

11. Create user profile(s)
- When creating user profiles for affiliate libraries, make sure the following fields have the correct values:
- General Information tab
- Primary ID = work email address
- User Group = user group created in step #1
- Password = create a temporary password for the user, checkmark Force password change on next login
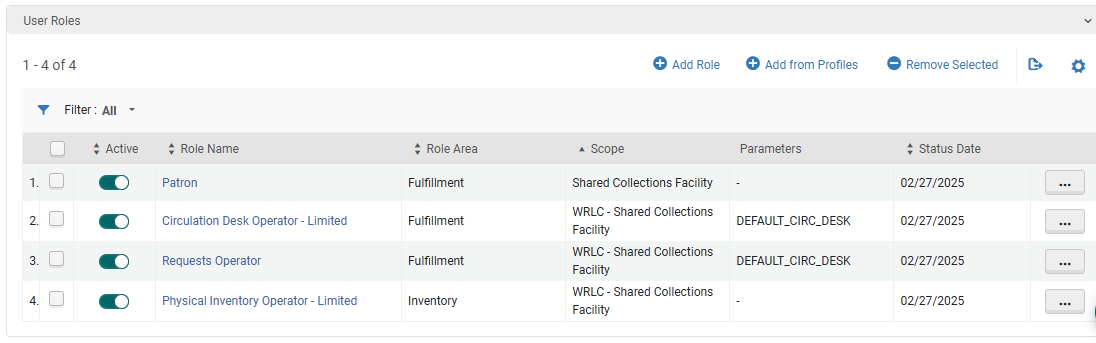
- User Roles (the following are necessary to allow for users to log into the SCF IZ and create requests through Alma)
- Patron
- Circulation Desk Operator - Limited
- Requests Operator
- Physical Inventory Operator - Limited
- General Information tab
-
- Contact Information tab
- Add address of affiliate library as the work address
- Contact Information tab
12. Update letter configuration for pull slip
- Configuration > General > Letters > Letters Configuration
- Search for the letter titled Ful Resource Request Slip Letter, choose Edit
- Edit the XSL around line 100 to include the following example
- Click Save Draft
- Click Save
<!--   Internal Alma request from affiliate institution [Insert affiliate library here}   -->
<xsl:when test="(notification_data/user_for_printing/user_group='[User Group Code]')">
<font size ="40px;">[Affiliate Library Name]</font>
</xsl:when>
No comments to display
No comments to display