If you are activating a collection that will be used for AUTOHOLDINGS, please follow the instructions given on the [Alma Knowledgebase](https://knowledge.exlibrisgroup.com/Alma/Product_Documentation/010Alma_Online_Help_(English)/090Integrations_with_External_Systems/030Resource_Management) for that particular vendor!
1\. Search for the electronic collection in the CZ[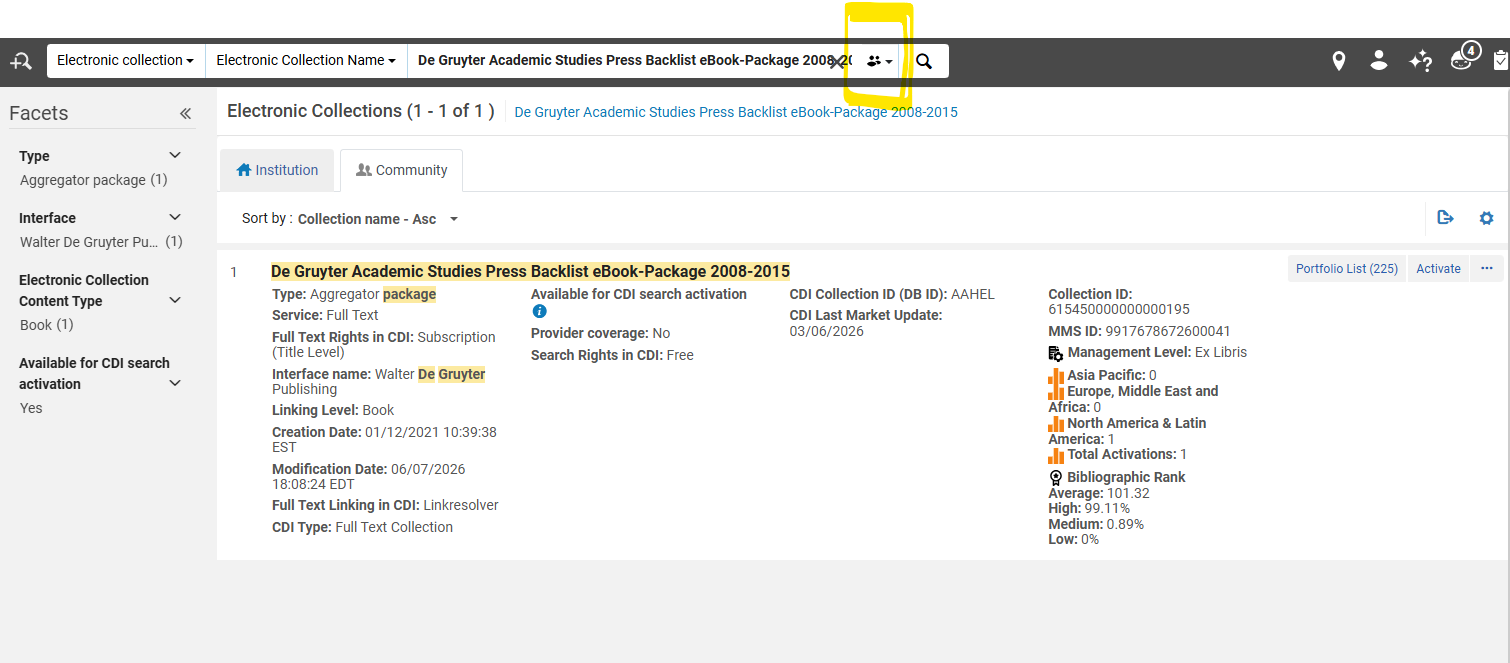](https://alma-documentation-bookstack.azurewebsites.net/uploads/images/gallery/2026-06/f7Iimage.png) 2\. Choose the Activate option for the collection. 3\. In the **Electronic Collection and Services Setup** page : a. Under the **Local Electronic Collection Information** section i. Add the **Public Name (override)** to be the same name as the collection, with '*(WRLC)'* added at the end of the name. This will help consortial staff identify the collection as a WRLC managed electronic collection. ii. Checkmark **Mark Bib as suppressed**. This ensures that the bibliographic record that describes the collection is suppressed from Primo; it does NOT suppress the portfolios attached to the collection. iii. **Electronic Collection Proxy enabled = No**. This ensures that a proxy is not added to the URL for the entire electronic collection; it does NOT remove a proxy from the portfolios attached to the collection. [](https://alma-documentation-bookstack.azurewebsites.net/uploads/images/gallery/2026-06/screenshot-2026-06-12-100039.png) b. Under the **Central Discovery Index Information** section i. **CD Search activation status = Active** ii. **We subscribe to only some titles in this collection = Yes**Please note that the above setting may be changed later, depending on the linking settings of the collection. When first activating a collection, it is safest to set this criteria to 'Yes."
iii. IF collection includes only ebooks, Checkmark Do not show as Full Text available in CDI even if active in Alma. IF collection includes journals, do not checkmark Do not show as Full Text available in CDI even if active in Alma. [](https://alma-documentation-bookstack.azurewebsites.net/uploads/images/gallery/2026-06/screenshot-2026-06-12-100053.png) c, Under the F**ull Text Service** section i. Checkmark the following options - - - Activate this electronic collection service - Make service available - Automatically delete portfolios removed from service ii. For the following option... - - - Automatically activate new portfolios : only checkmark if NOT setting up an autoholdings collection, AND if all portfolios in the collection are available through our subscription. All remaining options can be left blank. [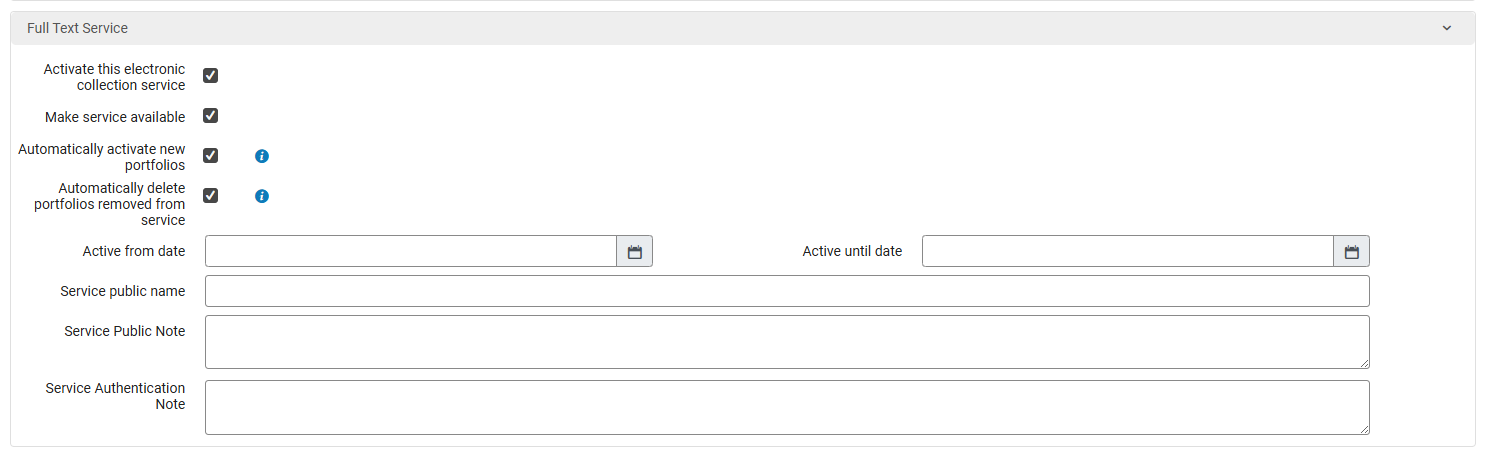](https://alma-documentation-bookstack.azurewebsites.net/uploads/images/gallery/2026-06/screenshot-2026-06-12-100207.png) ii. Then click Next. 4\. In the **Linking Information** page : a, Under the **Full Text Service - Linking Parameters** section i. Leave all parameters blank b. Under the **Full Text Service - Proxy setup** section i. **Proxy enabled = No**. If the collection requires a proxy, the proxy settings for each individual Institution will be set later in the workflow. [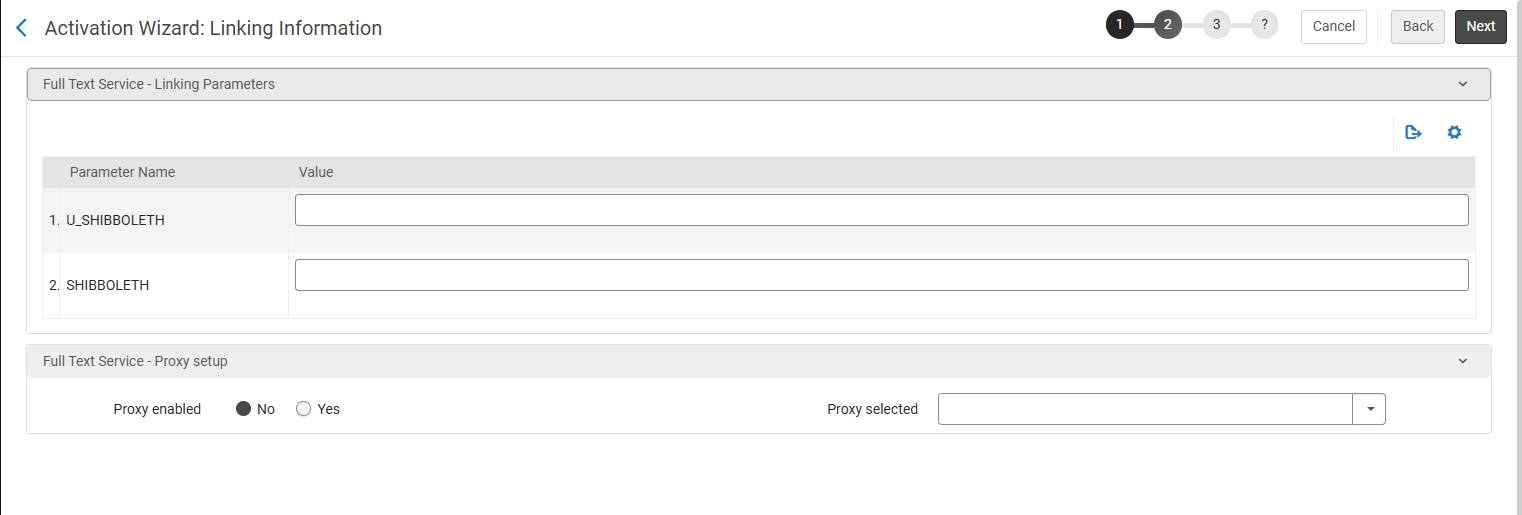](https://alma-documentation-bookstack.azurewebsites.net/uploads/images/gallery/2026-06/screenshot-2026-06-12-101016.png) ii. Then click Next 5\. In the **Select Activation Method** page : a. **Activate all - Activation of the complete electronic collection with no selection of portfolios** : choose if all portfolios in the collection are available through our subscription. b. **Manual activation - activate electronic collection and manually select portfolios** : choose this option if you are activating a collection that will be used for autoholdings. b. Then click Next 6\. Review the **Activation Summary** page and make sure everything looks accurate. Click **Activate** to activate the collection. This will trigger an Activation job to run. 7\. At this point, you will be brought back to your original Alma search page. Find the collection you just activated, and click on the house icon to view the same collection in the Network Zone (as opposed to the Community Zone). 8\. Click on the ellipsis button, then choose **Edit Service** [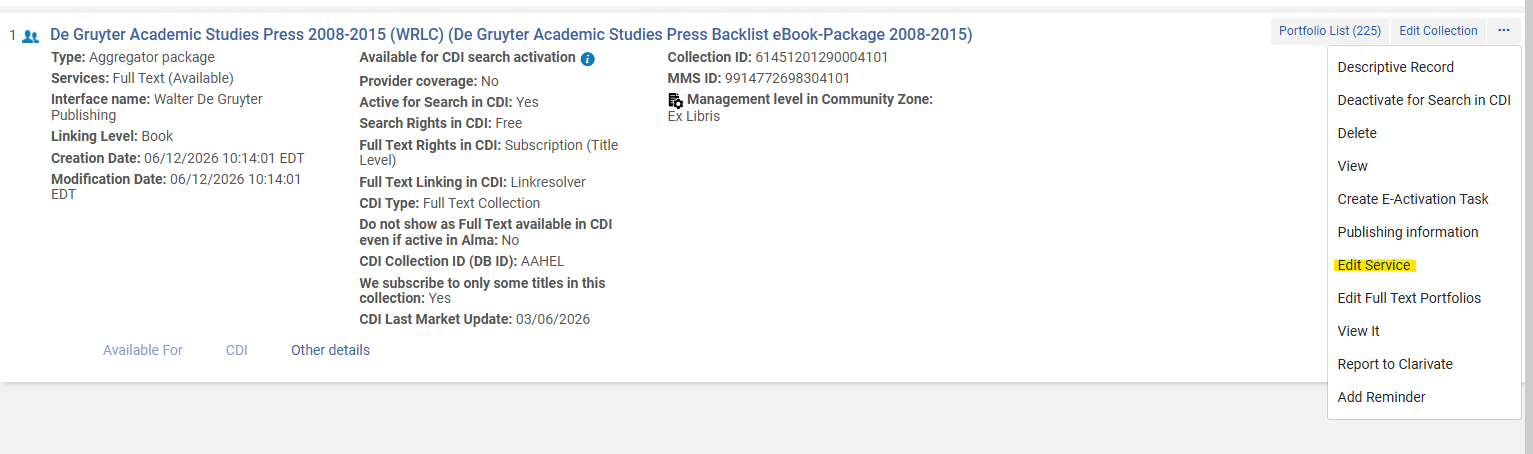](https://alma-documentation-bookstack.azurewebsites.net/uploads/images/gallery/2026-06/screenshot-2026-06-12-102625.png) a. Go to the **Linking** tab i. Under the **General Linking Information** section IF a proxy is necessary for this resource, select Proxy enabled = Yes, then leave the Proxy selected drop down menu blank IF a proxy is NOT necessary for this resource, leave Proxy enabled = No. [](https://alma-documentation-bookstack.azurewebsites.net/uploads/images/gallery/2026-06/screenshot-2026-06-15-112612.png) b. Go to the **Group Settings** tab i. Click **Add Settings For Group** to add each institution that has access to the collection. ii. IF a proxy is necessary for this resource, select Resource Default for the Proxy Enabled configuration IF a proxy is NOT necessary, select No for the Proxy Enabled configuration;Do NOT choose Yes for Proxy Enabled. This setting is only for proxies configured in the Network Zone, and WRLC does not configure proxies in our NZ.
iii. Proxy Selected is left blank. iv. Click Save, and repeat for each institution. [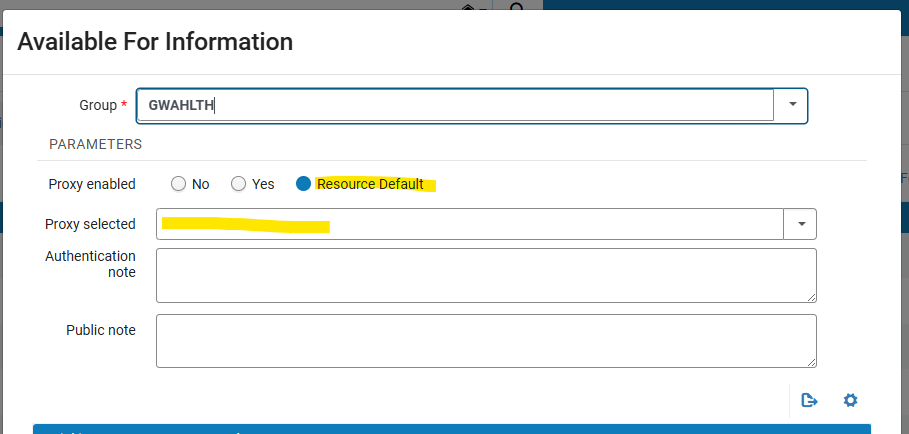](https://alma-documentation-bookstack.azurewebsites.net/uploads/images/gallery/2026-06/screenshot-2026-06-15-112530.png) v. Once you have configured each Institution, click Save on the Electronic Service Editor page.Please note that there is also a Group Settings tab in the Edit Collection page; the Electronic Service page is the only one that should be edited for Group Settings.
c. Afterwards, you should be brought back to the Alma search page with a view of the electronic collection. 9\. From here, click Edit Collection [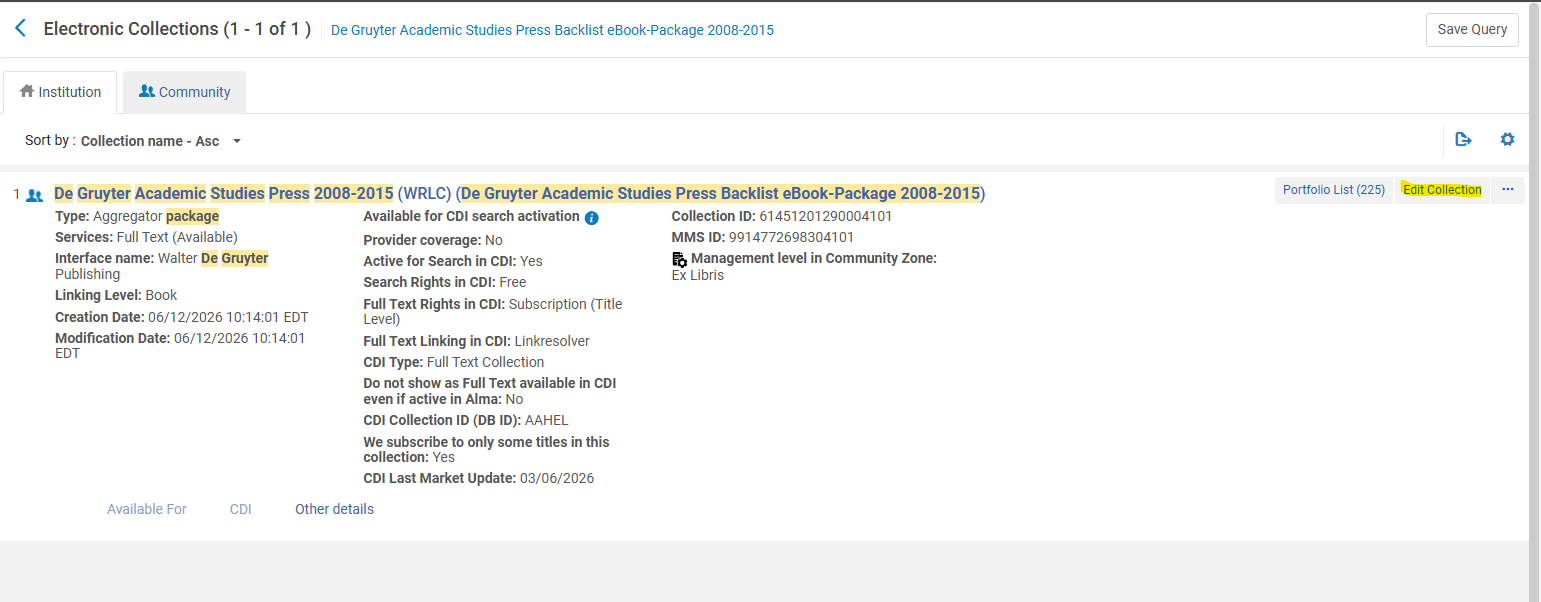](https://alma-documentation-bookstack.azurewebsites.net/uploads/images/gallery/2026-06/screenshot-2026-06-12-102237.png) Go to the CDI tab and follow the instructions for setting CDI settings for electronic collections found on the [Configuration of CDI Settings for Shared Electronic Collections](https://alma-documentation-bookstack.azurewebsites.net/books/wrlc-hq/page/configuration-of-cdi-settings-for-shared-electronic-collections) page on the Alma Wiki.