How to Manage the Pick from Shelf List
This workflow explains how to access and manage the Pick from Shelf list (also known as the Pick List) in Ex Libris Alma.
The pick list identifies items currently requested for patron holds, course reserves, or resource sharing requests within your library or across WRLC institutions.
Required Roles
To complete Fulfillment tasks outlined in this document, you must have one or more of the following roles:
- Fulfillment Operator
- Circulation Desk Manager
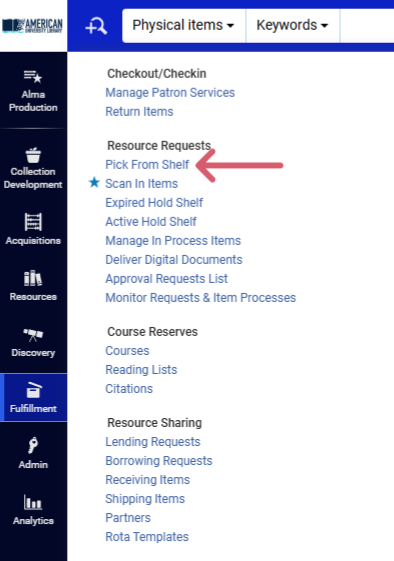
1: Access the Pick List This is the primary interface for viewing items your library must retrieve to fulfill local or consortial requests. It updates dynamically as requests are placed or fulfilled.
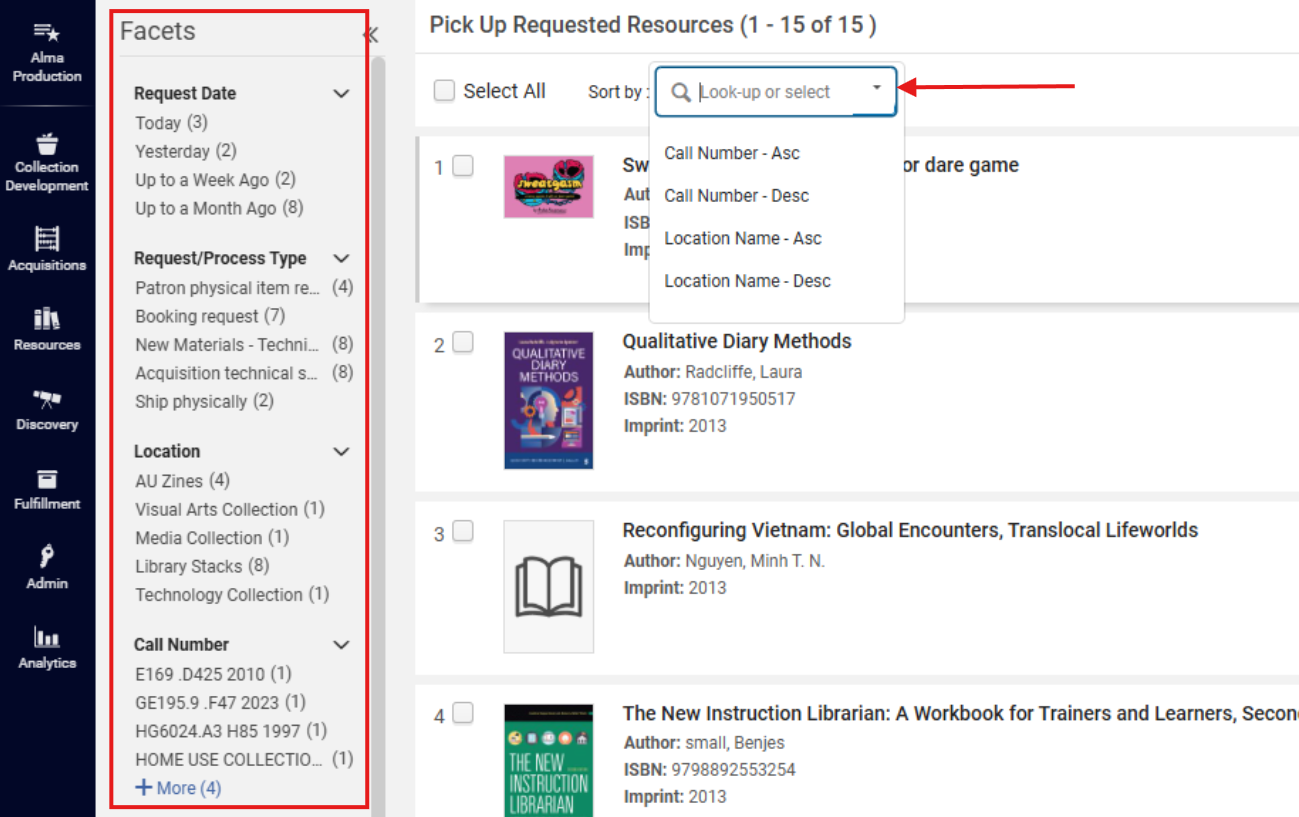
2: Review and Organize the List Use facets on the left-hand side or the <Sort by> menu to filter and organize results (e.g., by location, request type, or call number). Efficient sorting reduces retrieval time, especially in multi-location libraries.
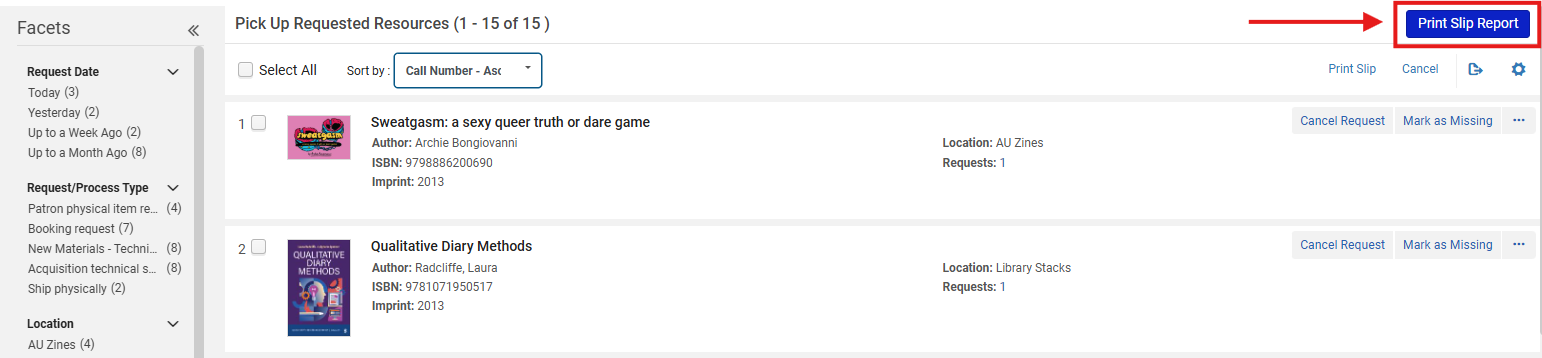
3: Print the Pick List or Individual Slips Printed slips contain location details, item barcodes, and destination information needed to retrieve materials accurately and efficiently. There are three ways to print or download the list for retrieval:
- <Print Slip Report>:
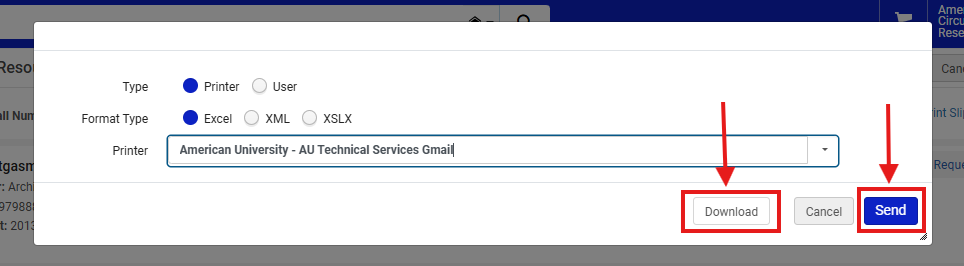
- Click <Print Slip Report> to generate an Excel or XML file of all items currently on the pick list.
-
- A pop-up window will appear; choose the desired format and click <Download> or <Send>.
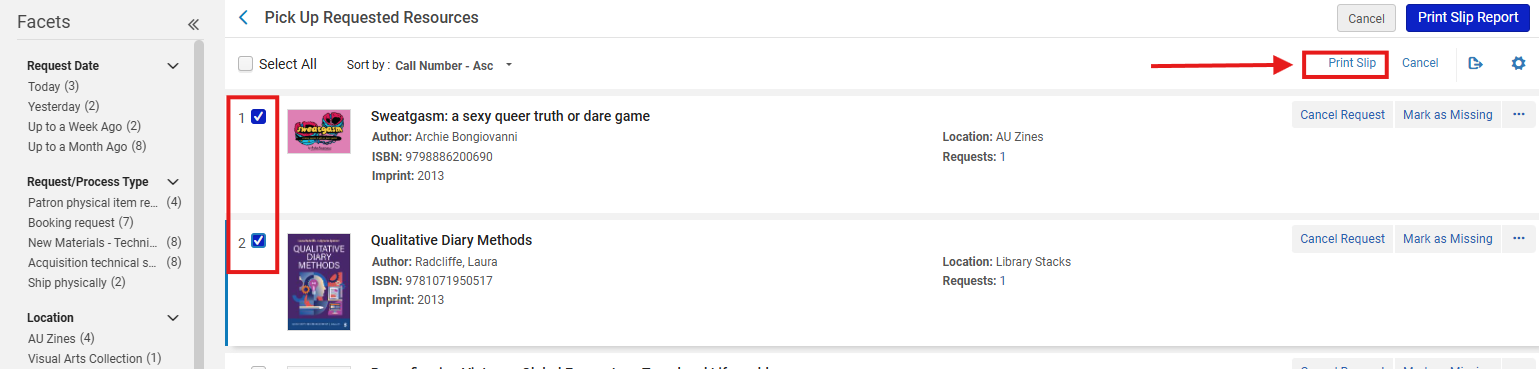
- <Print Slip> (bulk):
- Select individual items using the check boxes beside each entry and click <Print Slip>.
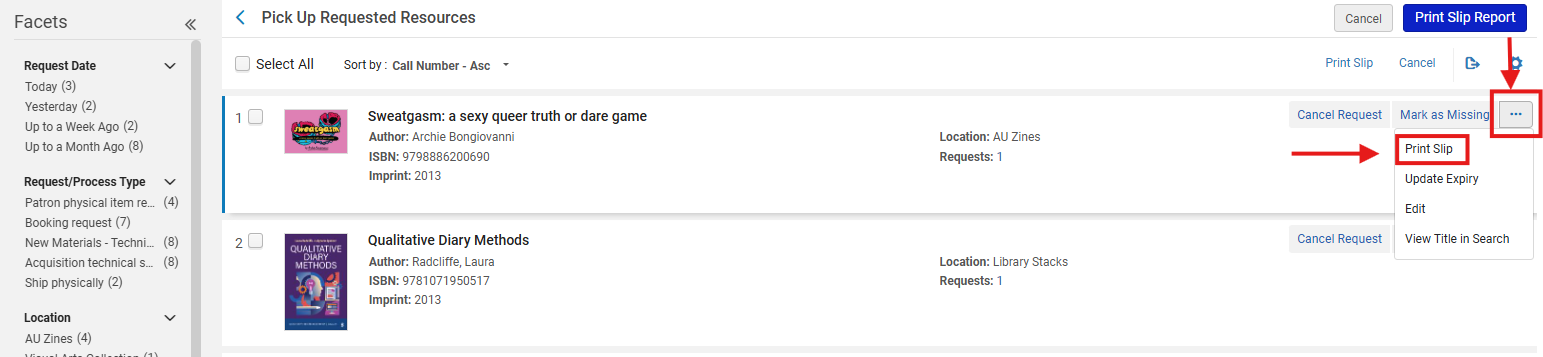
- More Actions> Print Slip> (individual):
- Open the row action menu ellipsis (⋯) menu next to a specific item and choose <Print Slip>.
Note: Print Slip Reports are more ideal for batch retrievals, while Print Slip can be more useful better for ad hoc requests.
Consider maintaining printed lists until items are scanned into Alma to avoid losing track of physical materials during pickup.
4: Locate and Retrieve Requested Items Use the printed slips or pick list report to locate items on the shelves. Retrieve the materials and bring them to your workstation for processing. This step physically fulfills pending Alma requests and updates internal status when items are later scanned in.
5: Process Retrieved Items Once all items are collected, navigate to Fulfillment > Resource Requests> Scan In Items
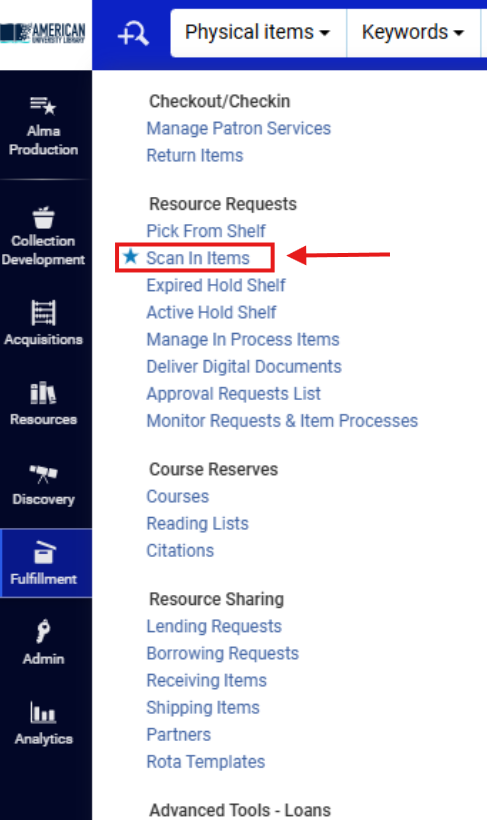
- The Scan In Items screen opens. Enter or scan each item’s barcode in the <Scan item barcode> field. Scanning items from the pick list both updates Alma to reflect that the item has been found and generates internal routing slips for delivery or hold shelf placement.
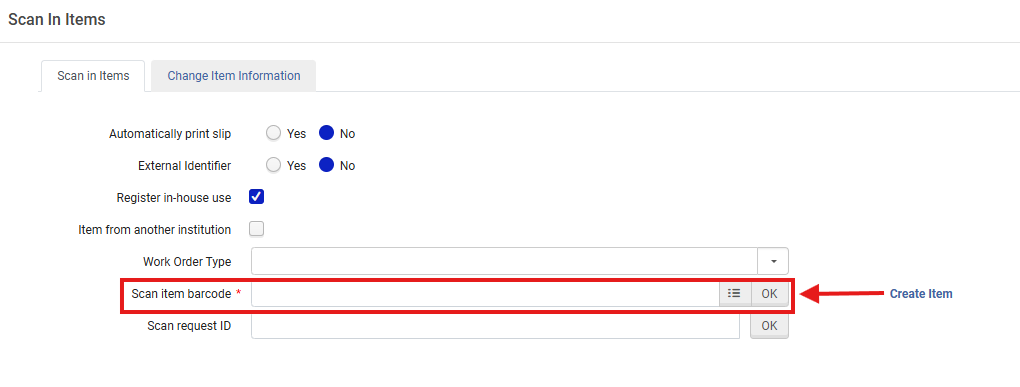
Note: Scan In Items processing updates the item’s workflow status automatically. For example, from Item in Place to Item in Transit or On Hold Shelf depending on request type and location.
6. Review Scanned Items and Destinations Destination slips guide routing and ensure the correct final location (e.g., local hold shelf, resource sharing shipment, or digitization). As you scan each barcode, a destination slip prints automatically.
- The lower part of the screen displays:
- Item details
- Destination library or department
- Current request type or status
Note: To avoid misdelivery or double transit, double-check destination details before routing- especially when items are requested by other institutions
Frequently Asked Questions
- What if I don’t see <Pick From Shelf> in my Fulfillment menu?
- Your user role may lack Fulfillment Operator privileges. Contact your supervisor or system administrator.
- What if a requested item is not on the shelf?
- Mark the item as Missing and report to cataloging or circulation management- confirm the workflow with your library's Circulation Desk management staff. The request will reroute automatically
- Can I sort the pick list by call number?
- Yes. Use the <Sort by> menu and choose “Call Number” for sequential pulling.
- Should I reprint slips if I scan items directly without printing first?
- No, Alma automatically updates item status during scanning; printing is optional.
- What if a hold slip prints for the wrong destination?
- Use <Change Destination>, available in the item’s row action menu ellipsis menu, to correct routing.
- How long do items remain on the pick list?
- Until scanned into <Scan In Items> or the request is canceled/expired.
- What if multiple libraries share stacks?
- Filter the list by Location before printing or scanning to avoid retrieving items belonging to other institutions.